

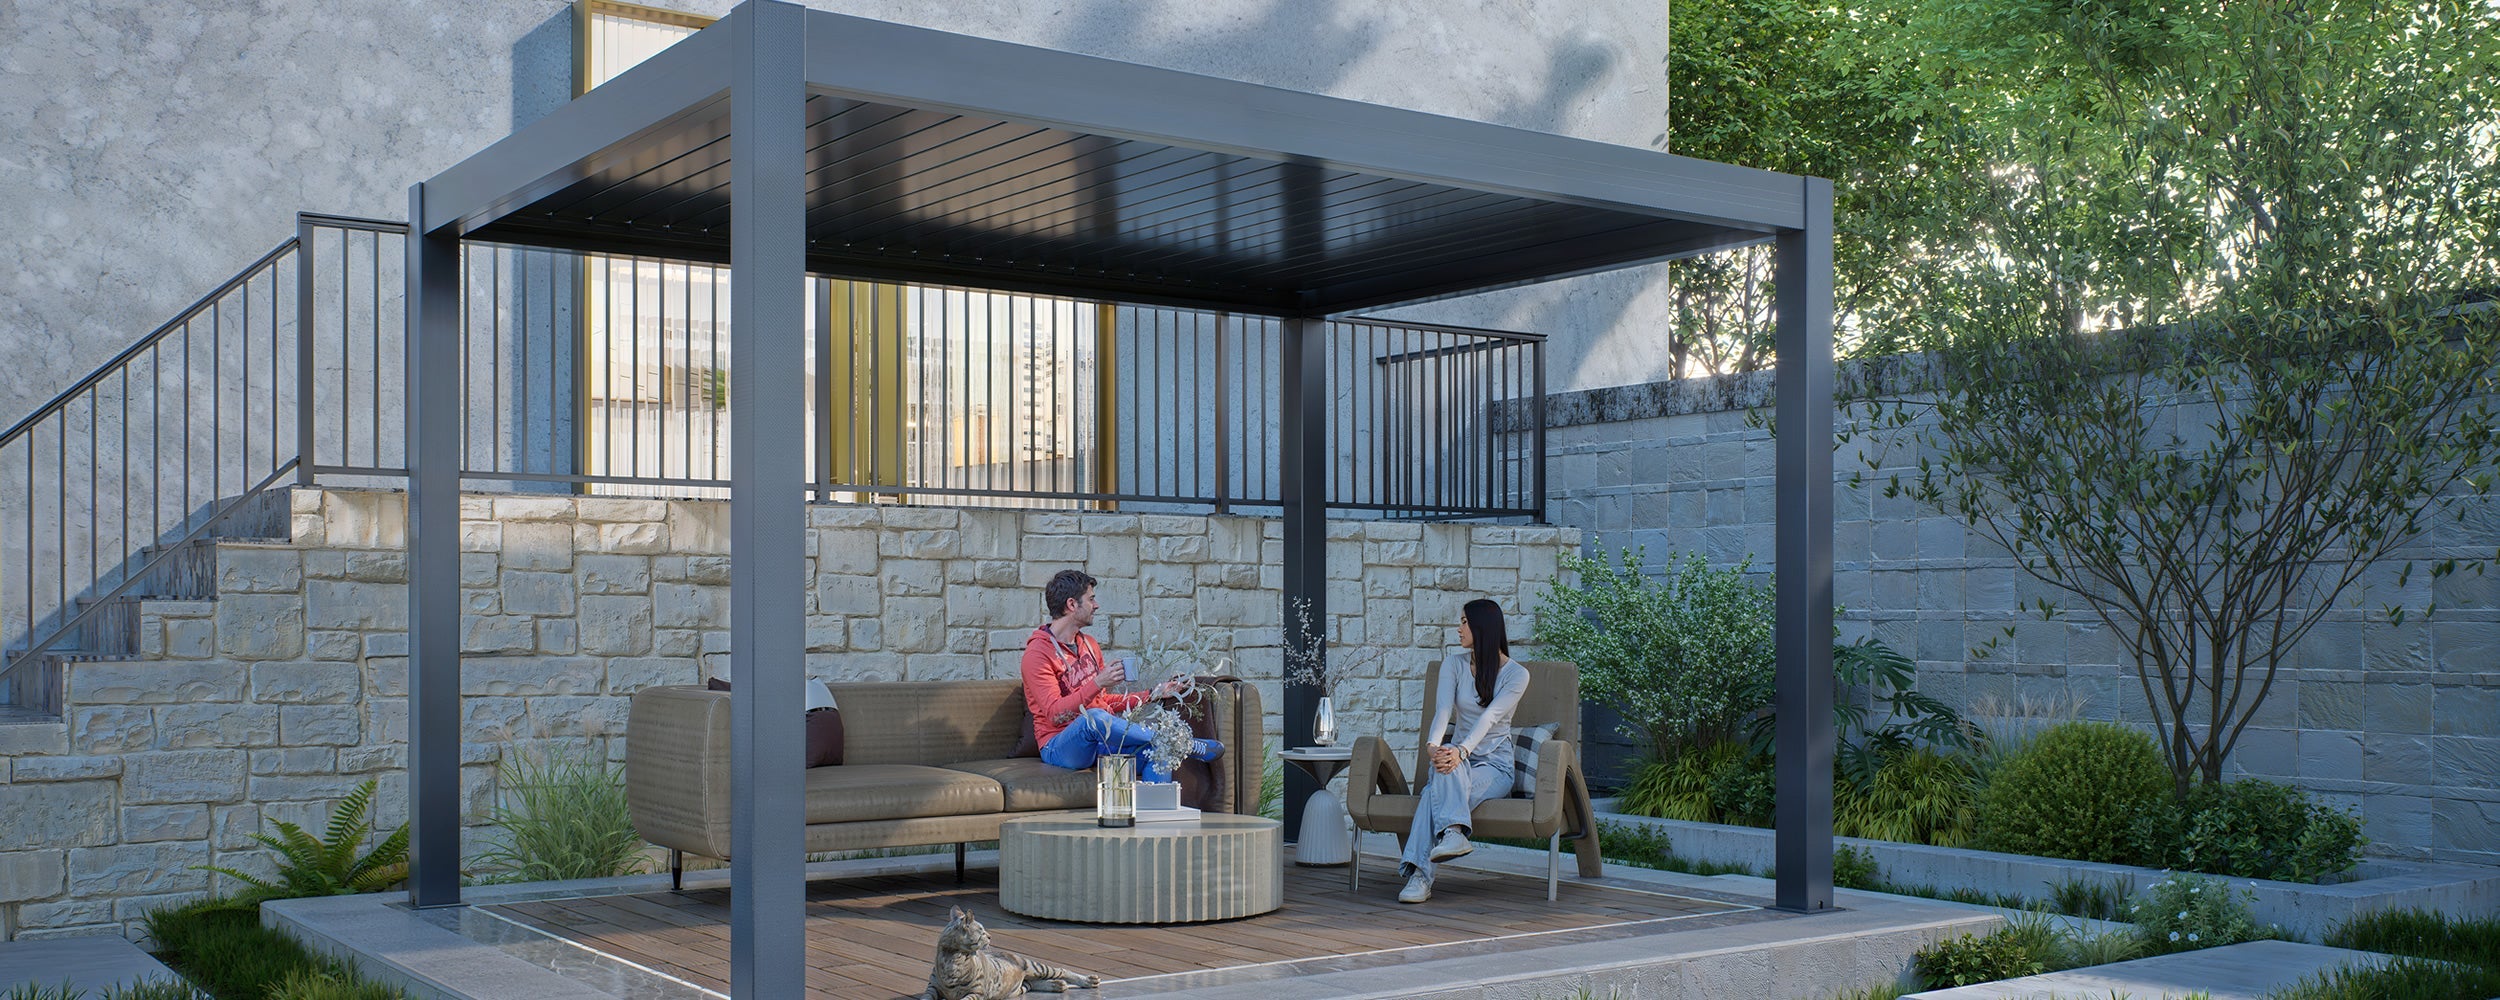
A pergola decision usually starts with a clean outdoor photo. Then the tape measure comes out, the dining chairs get pulled back, and the real questions begin. This guide keeps the planning grounded in daily use, so the model choice feels practical rather than rushed.
Checklist step one
Start With How the Space Will Actually Be Used
Before model names, colour choices, or roof controls, the first question is simple. What is supposed to happen under the roof on a normal day? A quiet coffee corner at 8 am, a six-seat dinner at 6 pm, and a shaded lounge near a pool all ask for different things. The best outdoor spaces usually begin with one honest purpose, not a long wish list.
For example, a compact courtyard may only need two chairs, a small table, and enough room to turn without brushing a planter. However, the same area can feel cramped once a barbecue, a storage box, and a swinging door get included. That is why planning should begin with movement, not square metres.
A useful test is almost embarrassingly low-tech. Stand in the outdoor area for ten minutes at the time it will be used most. Notice where glare lands, where the breeze comes through, and where people naturally walk from the door. Those small details often say more than a product table.
Planning note
The strongest starting point is not “cover the whole patio.” It is “make the part of the patio that gets used every week feel better.”
A Pergola Planning Habit That Saves Mistakes
The habit is to name the main scene first. A dining scene needs chair pull-back space, light over the table, and a clear path to the kitchen. A lounge scene needs softer shade, side tables, and enough depth for people to sit back. A poolside scene needs wet-foot access, airflow, and shade that does not block the open feeling of the garden.
Also, one outdoor area rarely does five jobs equally well. A roof that tries to cover every possible activity can become too large, too heavy, or poorly placed. In many homes, the better decision is more focused. Cover the part that matters most, then leave the rest of the outdoor area open and easy to use.
This is where Everpergo aluminium pergolas fit into the planning conversation. The all-aluminium louvred range gives structure and shade, yet the model choice still needs to follow the way the area is lived in. Good planning makes the product feel settled rather than simply installed.

Checklist step two
Measure Furniture Before Roof Size
Most sizing problems begin with measuring the slab and stopping there. A paved rectangle may look generous when empty, yet the feeling changes once chairs pull out and people move through with plates. So the better method is to measure the furniture in use. Not the catalogue size. The real footprint.
For a dining setting, place the table where it should sit and pull every chair back as if dinner has just finished. Then walk behind the chairs. If the route feels tight while carrying a tray, the covered area or post position needs another look. This small test reveals the issue faster than any drawing.
Lounge furniture behaves differently. A sofa may look neat when it sits against a wall, but a coffee table, side table, outdoor rug, and one extra stool can spread the zone by another half metre. In that case, the roof should make the area feel calm, not squeezed into a frame.
Dining check
Measure table width, chair pull-back, and a comfortable walking line behind the seats.
Lounge check
Include coffee tables, side tables, cushions, rugs, and the space needed to move naturally.
Access check
Walk from the house to the garden, then check whether a post would interrupt the route.
A Pergola Buying Guide Should Start on the Ground
A polished buying guide can easily start with roof features. However, the ground plan decides more than most people expect. Post positions affect chairs. Door swings affect depth. A side gate affects how people cut through the space after watering the garden. These details are ordinary, but they decide whether the finished area feels easy.
Use tape, chalk, cardboard, or four buckets to mark the proposed corners. Then place furniture inside the outline. After that, move through the area the way it will be used on a weeknight. The result may feel a little rough, yet it gives a true sense of scale.
Also, measure height. Eaves, gutters, wall lights, windows, balcony edges, and sloping paving can all change the right answer. A roof that looks correct in plan view may feel wrong if it sits too close to a window line or blocks the view from the kitchen.
- Mark the full furniture footprint, including chairs pulled out and tables in use.
- Keep the main walking path clear from the back door to the outdoor setting.
- Check height near eaves, downpipes, wall lights, windows, and uneven surfaces.
- Leave some visible paving or deck edge so the structure does not feel oversized.
Checklist step three
Check Sun, Wind and Drainage Before Choosing a Model
Weather comfort is not one single thing. Morning sun can feel soft and pleasant. Late afternoon glare can hit low across the table just when dinner is being set. A light breeze can feel fresh in spring, yet become annoying when napkins, cushions, and plates start moving around.
A practical sun test takes one day. Take a photo from the same spot in the morning, at midday, and again around late afternoon. The three images will show where shade really falls. More importantly, they show whether low-angle light enters from the side, where roof coverage alone may not solve everything.
Adjustable louvres help because the roof can respond to changing light and airflow. Still, orientation matters. A louvred roof can soften overhead sun, but it cannot move the western sun out of the sky. If side glare is the issue, the plan may need a wind blind, planting, or a different furniture position.
Drainage deserves the same attention. Heavy rain needs a route away from thresholds, furniture, and low paving. A small puddle near a back door after a storm is a planning clue. The roof choice should respect that clue, not hide it.
Pergola Checklist for Weather and Comfort
At 9 am, check whether the space feels bright, shaded, or already warm.
At 1 pm, look for heat reflecting from paving, glass, fences, or walls.
At 4 pm, note any low-angle glare across seating or dining positions.
After rain, check where water collects and which way the paving falls.
On a breezy afternoon, stand where the table or lounge will sit.
Near trees, consider leaves, twigs, and access for occasional cleaning.
The useful point is not to fear weather. It is to plan for the exact weather that affects that particular spot. A protected courtyard, an elevated deck, a poolside area, and a side return all behave differently. The model choice should follow those conditions.
Also, not every condition needs an accessory. Sometimes the better answer is to shift the covered area by 300 mm, turn the table, or keep one side open for airflow. A good plan solves the main discomfort without overcomplicating the space.

Checklist step four
Compare Freestanding and Wall-Mounted Layouts
Freestanding and wall-mounted layouts create different outdoor habits. A wall-mounted structure often feels like part of the house, especially beside a kitchen, dining room, or sliding door. A freestanding layout can create a separate outdoor room in a garden, pool area, or open paved zone.
The choice should not be made only from an image. Instead, stand inside the home and look out. If the outdoor structure will be seen every morning from the kitchen, its alignment with the door, windows, gutter line, and paving edge matters. A clean relationship with the house can make the whole rear area feel calmer.
For a freestanding layout, the test is different. Walk around the proposed position from every side. Check whether posts define the zone or interrupt access. In a poolside or garden setting, the structure should feel like a destination, not a barrier dropped into the yard.
Wall-mounted often suits
Outdoor dining beside the kitchen, a covered transition from the house, and spaces where the roof should read as part of the rear façade.
However, wall conditions matter. Windows, gutters, downpipes, and cladding all need to be checked before the layout feels resolved.
Freestanding often suits
Poolside lounges, garden retreats, separate dining zones, and wide paved areas that need a defined outdoor room.
Still, post placement should be tested around furniture, garden routes, and any side access used every week.
Door Flow, Steps and the Small Movements That Matter
Many outdoor layouts fail quietly. Not because the structure is poor, but because one post sits too close to a step, one chair blocks a sliding door, or one walking path becomes narrow when the table is full. These details can become annoying because they happen every day.
Check the back door with furniture in place. A sliding door may still need room for flyscreens, mats, handles, and people waiting at the threshold. A hinged door needs clear swing space. A low step needs visibility, especially at night.
For homes with children, pets, pool access, or regular garden movement, open paths matter even more. A roof should make the activity zone more useful. It should not turn the outdoor area into a course of small obstacles.
Checklist step five
Match the Checklist to P120, P180 and P180 Pro
Once purpose, furniture, weather, drainage, and layout are clear, the model comparison becomes less abstract. The question is no longer “which one is best?” It becomes “which one suits this exact space?” That small shift makes the decision far easier.
Everpergo offers all-aluminium louvred systems across P120, P180 and P180 Pro, with freestanding or wall-mounted layouts, white or grey finishes, manual or motorised options, custom sizes, a Dandenong Melbourne warehouse/showroom, nationwide delivery, a 10-year structural warranty and a 2-year motorised warranty. Those facts are useful, but they should support the planning logic rather than replace it.


When Custom Sizing Becomes the Cleaner Answer
Custom sizing is not about making the biggest roof possible. It is about avoiding awkward compromises. A standard size may leave a narrow strip of dead space, land a post near the wrong walking line, or miss the furniture by just enough to be noticed every time the area is used.
A custom-size approach works especially well when the outdoor area has an unusual wall length, a narrow side return, a fixed barbecue position, or a furniture layout that cannot move. It can also help when the roof needs to align with existing doors, windows, or paving lines.
The practical next step is to gather dimensions, photos, layout notes, and the intended use, then send them through Customize Your Pergola. That gives the planning conversation enough detail to move from broad ideas to a more suitable model path.
A useful brief includes three things: measurements, photos, and a short note on how the space should feel at the time it will be used most.
Open Customize Your PergolaChecklist step six
Plan Accessories Around Real Habits
Accessories should not lead the whole plan. Still, they should not be left until the end either. Lighting, side protection, and glass doors change how the space works after sunset, during wind, and in cooler weather. So the best approach is to decide where they might matter before the final model is chosen.
Start with the evening test. If the area will host dinners, drinks, or quiet reading after 7 pm, lighting needs a proper place in the plan. A dining table needs useful light over plates. A lounge corner often feels better with softer light along the roof line. The mood should follow the activity.
Side protection is different. A wind blind works best when it solves a specific side issue: a neighbour view, a side breeze, low sun, or a more exposed deck edge. Covering every side can make an outdoor area feel closed. Protecting the uncomfortable side usually feels more natural.

How to Use Add-Ons Without Overbuilding the Space
A good accessory plan has restraint. For a deck lounge that catches wind from one side, a single blind may be enough. For a dinner setting used often after dark, lighting may matter more than side screens. For a more enclosed outdoor room feel, frameless glass doors can change the purpose of the area, so airflow and access need another look.
Think of each addition as a response to a real moment. The blind comes down when the side breeze arrives. The LED lighting turns on when dinner stretches past sunset. Glass doors suit a more protected setting where the garden view still matters. This keeps the design useful rather than crowded.
Also, accessory planning can influence model and size decisions. If the area may later include glass doors, side access and furniture depth deserve extra room. If wind blinds may be added, post positions and openings should be planned cleanly from the start.

Design judgement
Choose Colour by Looking at the Home, Not the Screen
White and grey finishes can both look clean, but colour should be judged beside the actual home. Window frames, gutters, paving, fences, outdoor furniture, and wall colour all affect the result. A finish that looks crisp online may feel too sharp or too flat beside real materials.
Grey often sits well with darker window frames, charcoal paving, stone, modern fencing, and heavier outdoor furniture. White often suits lighter facades, pale paving, coastal planting, and smaller spaces where brightness matters. Still, the right answer is not always a perfect match. Sometimes a soft contrast gives the outdoor room better definition.
The most useful test is the view from inside. Stand at the kitchen window or sliding door and picture the frame line. If the structure looks too heavy from that viewpoint, it may feel too heavy every day. If it disappears too much, the outdoor room may feel unfinished.
Grey finish check
Best considered beside dark frames, modern paving, charcoal fencing, and deeper-toned furniture.
White finish check
Best considered beside pale walls, lighter outdoor settings, bright patios, and open courtyards.
Mixed tone check
Useful when the home has dark trim but the outdoor area still needs a lighter roof feel.
Practical planning
Think Through Access, Delivery and Installation Support
Access planning sounds dull until it becomes the issue. A narrow side path, a tight driveway, a low branch, a stair, or a shared apartment entry can affect how components reach the outdoor site. So this part belongs in the brief, not in a late phone call.
Measure the narrowest point from the delivery area to the planned location. Then note fragile paving, tight turns, steps, slopes, gates, overhead obstructions, and anything that cannot be moved. These are not glamorous details, but they make the planning conversation clearer.
Installation should also be described plainly. Everpergo does not directly provide installation services, but can recommend experienced installers and provide installation guides and technical support. That point is important because it keeps the project realistic from the beginning.
DIY should be judged by the site, the model, and the available help. Outdoor structures involve weight, alignment, fixings, levels, drainage awareness, and weather exposure. For larger layouts, wall-mounted conditions, or uncertain surfaces, experienced installer input is usually the more sensible path.
Before enquiry, prepare these notes
- Overall area dimensions, plus the proposed roof position.
- Photos from the house, garden, side access, and the main seating point.
- Furniture sizes, including chairs pulled back and lounge depth.
- Wind, sun, and drainage notes from real site observation.
- Any known limits, such as gates, steps, eaves, downpipes, or wall lights.
Selection thinking
Real-World Scenarios That Change the Decision
A small courtyard beside a kitchen often needs restraint. Two chairs, a round table, one large pot, and a clear door path can create a better daily space than a roof that fills every edge. In that setting, a compact model and careful post position may matter more than extra coverage.
A family dining area needs a different rhythm. Around 6 pm, low light and wind become more noticeable. Chairs move, plates travel from the kitchen, and someone usually stands behind a seated person. Here, the roof should support movement as much as shade.
A poolside lounge asks for another kind of judgment. Wet feet, towels, glare, and wind all affect comfort. Meanwhile, the structure should not block the open feeling around the water. A freestanding layout can work well when it defines the sitting zone but leaves the pool path clear.
A deck used at night should include lighting from the start. Temporary string lights can feel charming, but integrated LED strip lighting gives a cleaner line and fewer visual distractions. The right light level depends on whether the area is for dinner, reading, or quiet conversation.
A wide entertaining area may point toward a larger model and motorised operation. Still, bigger is not automatically better. If the main seating area occupies only part of the deck, a more precise custom-size layout may feel calmer than full coverage from edge to edge.
Decision method
Build a Simple Shortlist, Not a Crowded One
A shortlist should have one likely model and one backup. More than that often creates noise. The likely model should match the main purpose. The backup should explain what would change the decision, such as furniture size, post position, wall condition, or frequent louvre adjustment.
For a compact seating zone, P120 may be the likely path, with P180 as the backup if the roof needs more presence or the furniture footprint grows. For a medium dining and lounge area, P180 may sit first, with a custom configuration if the wall line or post positions need precision.
For a larger entertainment area, P180 Pro may become the first model to compare. However, the checklist still matters. A broad backyard does not always need the broadest covered area. The best roof is the one that supports the main activity without making the rest of the outdoor area feel crowded.
A good shortlist sounds like this
“Grey, wall-mounted, medium dining area, late-afternoon sun, possible lighting, post must stay clear of the sliding door.”
That is far more useful than “large outdoor roof.” It gives the model, layout, colour, use, weather issue, and constraint in one clear note.
Keep planning
Extended Reading
Once the main checklist is clear, these related pages help refine size, layout, DIY expectations, and accessory planning without starting from zero again.
FAQ
Pergola Planning FAQ
Final step
Before Moving From Planning to Enquiry
A strong outdoor plan is built from ordinary details: the chair that needs to slide back, the late sun that hits one side of the table, the step that must stay clear, and the view from the kitchen window. Those details do not make the decision slower. They make it more accurate.
Before choosing a final model, prepare three things: measured dimensions, clear photos, and a short note about how the space will be used. With those details ready, the move from rough idea to suitable configuration becomes much smoother.
1. Mark the layout
Use tape, chalk, or buckets to test roof corners and post-sensitive areas.
2. Photograph the site
Include the house wall, access route, furniture zone, and any drainage concerns.
3. Write the use note
Dining, lounge, poolside, mixed use, evening use, wind exposure, or privacy needs.
Ready for a clearer model match?
Send the size, layout, photos, and daily-use notes through Customize Your Pergola. The goal is not to force a larger roof. It is to match the outdoor structure to the way the space will actually work.
Submit Details via Customize Your Pergola
Share:
Roofed Pergola Ideas for All-Weather Outdoor Living
Louvered Pergola for Winter Rain and Low Sun