

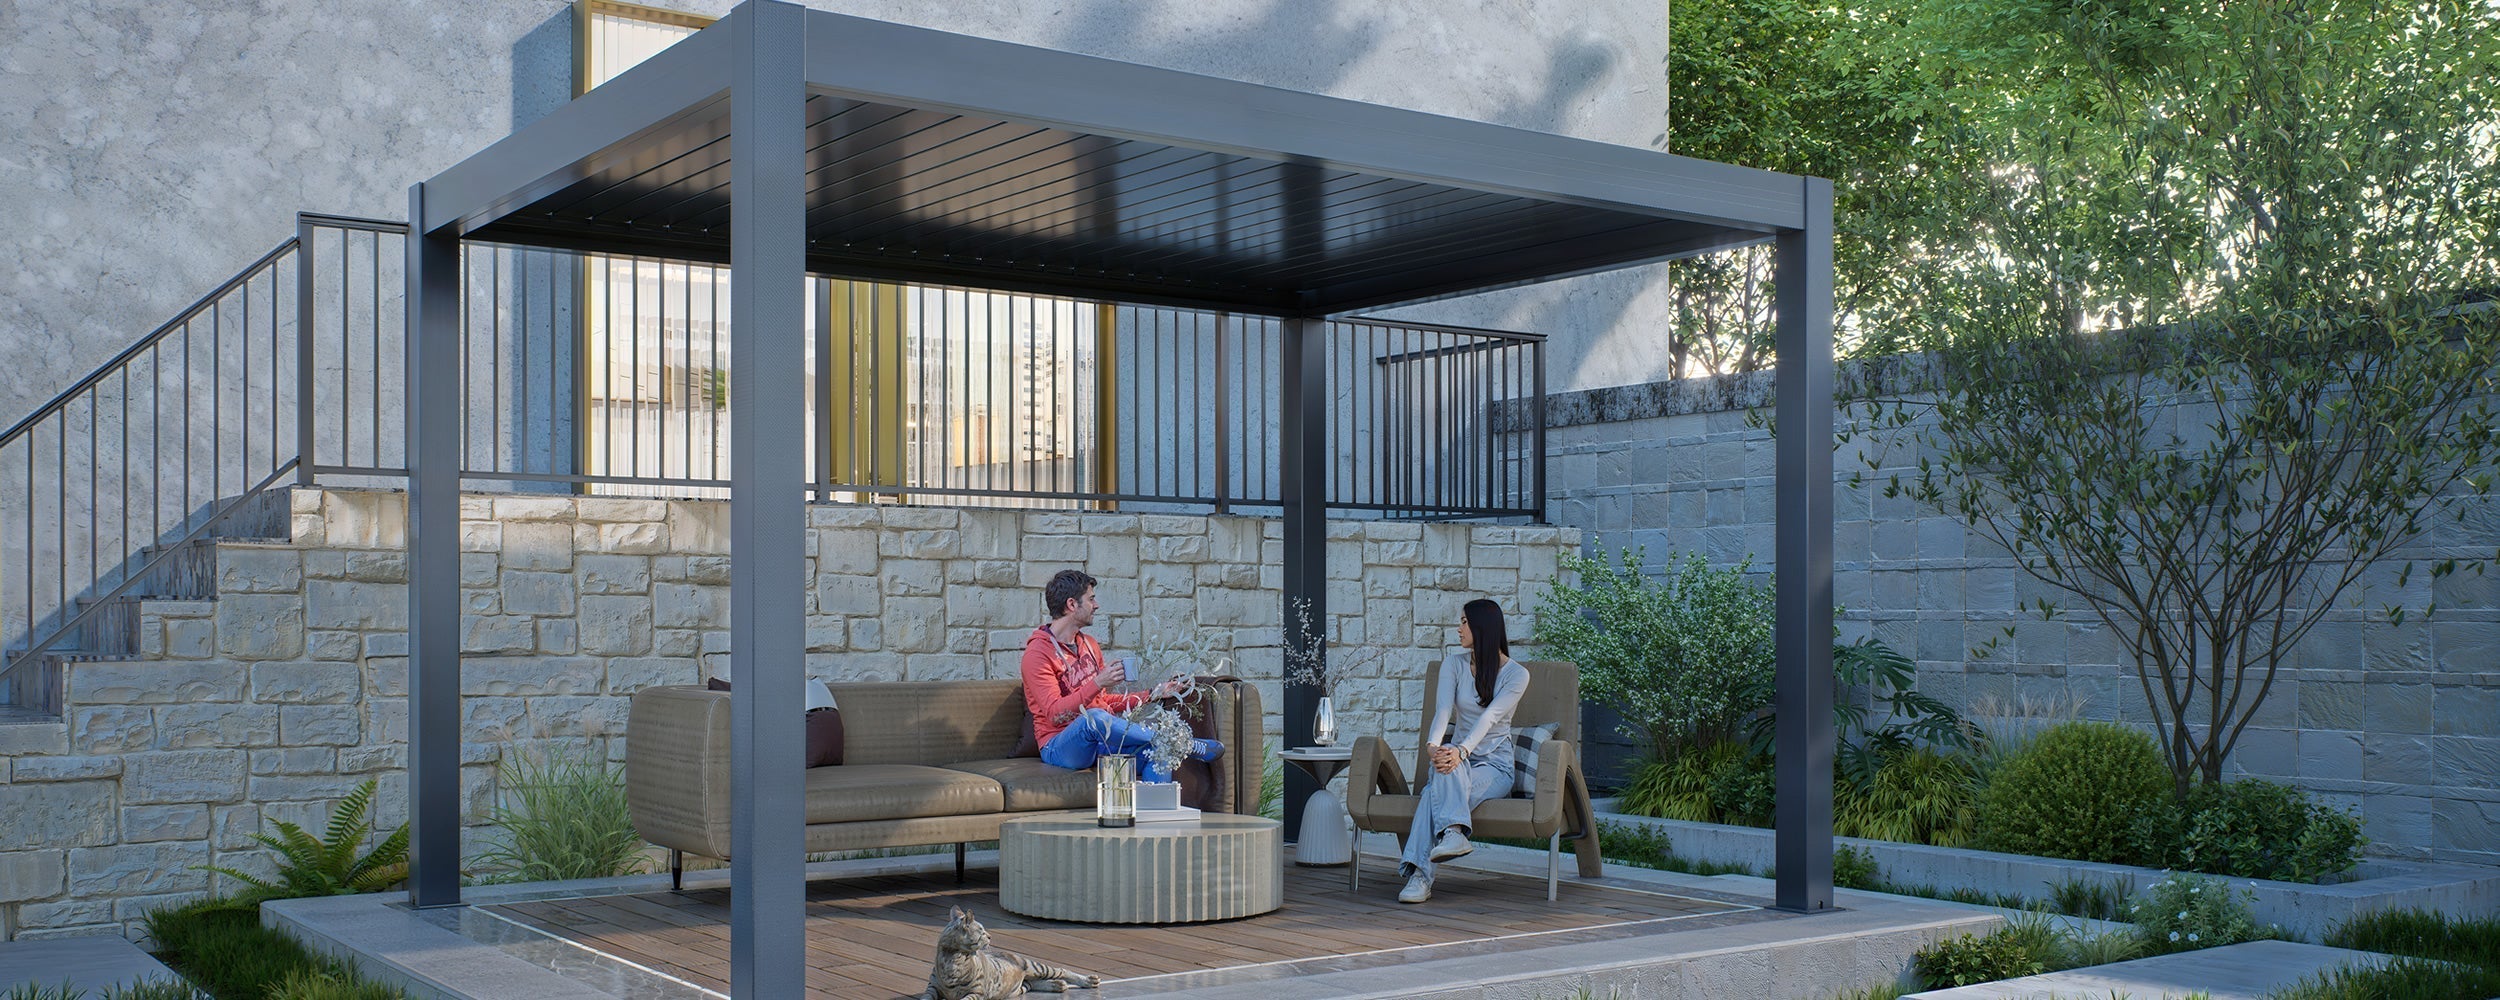
A local pergola installer can visit faster, measure the site more easily, and understand access conditions. But “near me” should only be the first filter, not the final reason to hire.
Searching for pergola builders near me usually starts with a simple goal: a patio that finally works in the afternoon, a dining table that stays usable after light rain, or a deck that feels calm instead of exposed.
The real decision is whether the quote, material, installer experience, warranty, support path, and aftercare all make sense for the way the outdoor space will actually be used. These nine questions help homeowners compare builders more clearly before they commit.
Why “nearby” is only the first filter
A nearby builder can be helpful. They may understand local access issues, common patio layouts, delivery timing, and how Australian weather affects outdoor spaces. However, location alone does not prove that the project will be planned well.
A pergola is not only a roof over a patio. It changes how the home handles heat, rain, shade, furniture, doors, privacy, and daily movement. A back deck may look easy on a Saturday morning, then become uncomfortable when western sun reaches the table at 3:30 pm.
That is why the better question is not “Who is closest?” It is “Who can help me choose a pergola system, layout, and support path that actually solves the problem?”
Quick takeaway: shortlist the builders who ask better questions about the site. A careful installer will want to know about slab condition, wall type, access width, drainage, furniture layout, power access, and warranty responsibility.
 A wall-mounted layout often works best when the outdoor area sits directly beside the main living space.
1. Does the quote explain the whole project?
A quote should not feel like a mystery. It should show what is included, what is not included, and what still needs checking before work begins. Many pergola problems begin with one vague phrase: “standard installation.”
In real life, a standard installation on a flat concrete patio is different from a raised timber deck, a sloped paver area, or a tight side path with no easy unloading space.
Before comparing final prices, check whether the quote separates product supply, delivery, installation labour, site preparation, electrical work, accessories, exclusions, and aftercare.
| Quote section | What to check | Why it matters |
|---|---|---|
| Product | Model, size, colour, manual or motorised operation, and accessories. | It prevents a basic product quote from being compared with a more complete project quote. |
| Site | Surface condition, wall condition, access, drainage, and preparation. | It catches hidden work before installation day. |
| Installation | Labour scope, fixings, electrical exclusions, and timing. | It clarifies who is responsible for each part of the job. |
| Aftercare | Product warranty, workmanship responsibility, and support contact. | It avoids confusion if a product, electrical, or installation issue appears later. |
2. What material is being used, and why?
Material choice affects comfort long after installation day. It changes how the structure ages, how much upkeep it asks for, and how visually heavy the outdoor area feels.
In Australian homes, that matters because sun, rain, wind, and coastal air can be hard on outdoor structures. An all-aluminium louvred pergola is often chosen because it gives a clean look with lower ongoing maintenance than many timber-heavy structures.
However, the point is not to choose aluminium just because it sounds modern. The point is to match the material to the way the space behaves. A coastal home may care more about corrosion resistance. A family dining patio may care more about shade and rain control. A small courtyard may care most about keeping the structure visually light.
The practical test
Stand in the outdoor area at the least comfortable hour of the day. For many homes, that is mid-afternoon. Notice what feels wrong first: glare, heat, wind, rain exposure, privacy, or a sense that the space feels unfinished.
The first discomfort usually points to the most important product choice. If the table gets too hot, roof control matters. If the side of the deck catches wind, side protection may matter. If the area disappears after dinner, lighting may matter more than a larger frame.
3. Is the layout freestanding or wall-mounted?
Layout decides how the pergola belongs to the home. A wall-mounted pergola usually feels like an outdoor extension of the kitchen, dining room, or living area. A freestanding pergola feels more like a separate destination in the garden, beside a pool, or on a larger paved zone.
For a wall-mounted layout, the installer should look at the wall surface, gutter line, eaves, sliding doors, window clearance, and fixing height. Even a small detail, such as a downpipe or outdoor tap, can affect the final position.
For a freestanding layout, the focus shifts to post positions and movement. A post that looks harmless on a plan can block a chair, interrupt a walking path, or make the barbecue area awkward.
 A freestanding pergola can define a separate garden, poolside, or open patio zone without relying on the house wall.
4. Has the installer worked with louvre roof systems before?
A louvred roof system is not the same as a simple shade frame. It has moving blades, drainage routes, controls, and sometimes motorised operation. Because of this, the installer needs to understand more than posts and beams.
Ask about similar projects. The answer should include real installation details, not just “yes, we do pergolas.” A useful answer may mention blade movement, drainage, wall connection, fixing method, electrical access, or site measurements.
A careful installer will usually ask questions before giving a firm answer. Questions about slab condition, wall material, door height, side access, and planned accessories show that the installer is thinking about the finished space, not only the labour booking.
5. How will the pergola handle sun, rain, and airflow?
This is where daily life becomes more important than product language. A pergola should make the outdoor area easier to use in ordinary moments: lunch on a hot day, coffee after rain, a quiet evening outside, or a family meal that does not need to move indoors.
Adjustable louvres help because they can change the feel of the space. Open louvres can bring airflow and light. Closed louvres can give shade and help protect the area from rain. However, the site still needs proper planning, especially around drainage and wind exposure.
A practical way to judge this is to write one sentence about the outdoor problem. For example: “The deck is too hot after lunch,” or “The seating area gets wet during light rain.” If the pergola choice cannot answer that sentence clearly, it may not be the right configuration.
6. Are manual or motorised louvres more sensible?
Manual louvres can work well for smaller patios and simpler routines. They suit spaces where the roof is adjusted once or twice during the day. There is a quiet practicality to that kind of setup, especially when the handle is easy to reach.
Motorised louvres make more sense when the pergola is used often or the roof needs frequent adjustment. A larger outdoor dining area may move between morning sun, afternoon shade, and evening cover. In that setting, convenience starts to matter.
Motorised options need better planning. Electrical access, control position, motorised warranty, and any lighting choice should be discussed before installation day. No one wants a neat pergola with messy wiring added as an afterthought.
7. Who is responsible for installation?
This point needs to stay clear. Everpergo supplies aluminium louvred pergola systems and can provide installation guides, technical support, and recommendations for experienced installers. Everpergo does not directly provide installation services.
That boundary is useful rather than inconvenient. It keeps the project honest. The product side, installer side, and site preparation side can be discussed separately, which makes responsibility clearer if questions come up later.
When comparing nearby installers, it is sensible to ask whether the installer is comfortable using supplier installation guides and checking technical details before work begins. A good installer will not treat that as a burden.
Before booking installation: ask who checks site conditions, who handles electrical work, who receives and stores the components, and what happens if the slab, deck, or wall needs extra preparation.
8. Does the size fit the way the space is used?
A pergola can be technically correct and still feel wrong. This usually happens when the size fits the empty floor area but not the life inside it. A dining chair needs room to slide back. A barbecue needs breathing space. A doorway needs a clear path.
Standard sizes can work well on a simple rectangular patio. However, custom sizing may be better when the pergola needs to follow a paving line, clear a door, avoid a drain, or line up with an existing outdoor kitchen.
Everpergo offers custom width, depth, and height options on the custom pergola page. This is helpful when the project needs the pergola to feel built into the home rather than dropped onto the patio.
A quick furniture test
Before finalising the size, place chairs, a table, a lounge, or even cardboard markers on the ground. Then walk the usual route from the door to the seating area. If the path feels tight before the pergola arrives, posts will not make it feel better.
This test is simple, but it catches awkward choices early. It also helps explain the project clearly when speaking with installers or comparing different pergola companies.
9. Which accessories should be planned early?
Accessories are not just decoration. They often decide whether the pergola becomes a daily habit or a nice structure that is used only sometimes. Side weather, evening light, privacy, and cooler months all shape that decision.
LED strip lighting can make the space feel usable after dinner without adding visual clutter. Wind blinds can help when one side of the deck feels exposed. Frameless glass doors can suit a more enclosed outdoor room feeling while keeping the view open.
However, every accessory should answer a real problem. If the patio already feels sheltered, side protection may not be urgent. If the pergola is mainly used at lunch, lighting can wait. A calm plan usually works better than adding everything at once.
 Lighting is worth planning early when the pergola will be used for dinner, reading, or relaxed evening seating.
Read the warranty before reading the final price
Warranty details are easy to skip when the design looks right. Still, they deserve attention before the project is confirmed. A warranty is only useful when it is clear which parts are covered and which responsibilities sit with the installer.
Everpergo publicly states a 10-year warranty on the main aluminium structure and a 2-year warranty for motorised systems. That is useful when comparing long-term value across pergola companies. However, product warranty and installation workmanship should not be mixed together casually.
Ask who handles each issue. Product support, motorised system questions, electrical work, fixing method, site preparation, and installer workmanship should be separated clearly. This is not being difficult. It is simply protecting the project.
 Side enclosure should be discussed early if the space needs more weather protection or an outdoor-room feel.
Common mistakes when comparing pergola builders
One common mistake is choosing the builder before choosing the type of pergola. Some builders are comfortable with basic patio covers, while aluminium louvre systems may need a more careful approach.
Another mistake is ignoring the awkward parts of the site. Sloped paving, tight access, weak decking, low gutters, and drainage direction all matter. These details are not glamorous, but they decide whether installation day feels controlled or stressful.
A third mistake is chasing the lowest quote without comparing exclusions. A lower number may leave out electrical work, site preparation, accessory installation, delivery handling, or aftercare. In that case, the cheapest option may only look cheaper for a week.
A clearer way to shortlist pergola installers
Shortlist the builders who ask better questions. The right questions usually sound practical: slab condition, wall type, access width, furniture layout, drainage, power access, and warranty responsibility.
Where Everpergo fits into the project
Everpergo is best understood as the product and support side of the project. The range focuses on all-aluminium louvred pergolas, with manual or motorised options, freestanding or wall-mounted layouts, custom sizing, and accessories that help shape comfort.
The Dandenong Melbourne warehouse and showroom also give the brand a practical local base. For many homes, seeing a finish, understanding a model, or discussing a configuration before finalising the project can make the decision feel calmer.
Installation should still be planned honestly. Everpergo does not directly install pergolas. Instead, experienced installers can be recommended, and installation guides plus technical support can help the project move with clearer expectations.
Extended Reading
These three guides help readers continue naturally after comparing builders. They move the user from “who should I hire?” to “what size, model, and budget makes sense?”
Pergola Planning Checklist Before You Choose a Model
Best for checking site size, shade direction, furniture layout, access, and accessories before asking for a final quote.
Read checklist →Louvered Pergola Cost in Australia: What Affects the Price?
Useful when a buyer wants to understand why one quote is cheaper and another includes more size, control, or accessories.
Read cost guide →Pergola With Roof: Compare Roof Types in Australia
Helpful when deciding whether an open, fixed, or louvered roof makes more sense for the way the outdoor area is used.
Compare roof types →FAQ
Does Everpergo directly install pergolas?
No. Everpergo does not directly provide installation services. Everpergo can recommend experienced installers and provide installation guides and technical support, but installation scope should be confirmed with the installer.
What should a pergola quote include?
A useful quote should separate product supply, delivery, installation labour, site preparation, electrical work, accessories, exclusions, and warranty responsibility. It should also state the layout, size, and any assumptions about the site.
Are aluminium louvred pergolas suitable for Australian outdoor areas?
Yes, aluminium louvred pergolas can suit many Australian outdoor areas because they help manage sun, airflow, rain cover, and long-term maintenance. Site conditions still matter, especially wind exposure, drainage, fixing points, and layout.
When does custom sizing make sense?
Custom sizing makes sense when a standard footprint does not match the patio, deck, door clearance, paving line, or furniture plan. It is especially useful when the pergola needs to feel integrated with the home rather than added later.
How should pergola installers near me be compared?
Compare experience with aluminium louvre systems, site-check process, quote clarity, installation scope, electrical planning, warranty handling, and aftercare. A nearby installer is useful, but the best fit is the one who understands both the product and the site.
A better pergola project starts with better questions
The search for pergola builders near me should lead to more than a fast quote. It should lead to a pergola that suits the home, the weather, the furniture, the daily routine, and the maintenance expectations after installation.
Everpergo can support the product side with all-aluminium louvred pergola options, custom sizing, nationwide delivery, installer recommendation, installation guides, and technical support. Installation itself should be handled by a suitable installer, with scope and responsibility confirmed in writing.
Share:
Pergola Canberra Buyers Guide: Frost, Wind & Roof Options
Louvered Roof vs Retractable Roof: Which Is Easier to Maintain?