

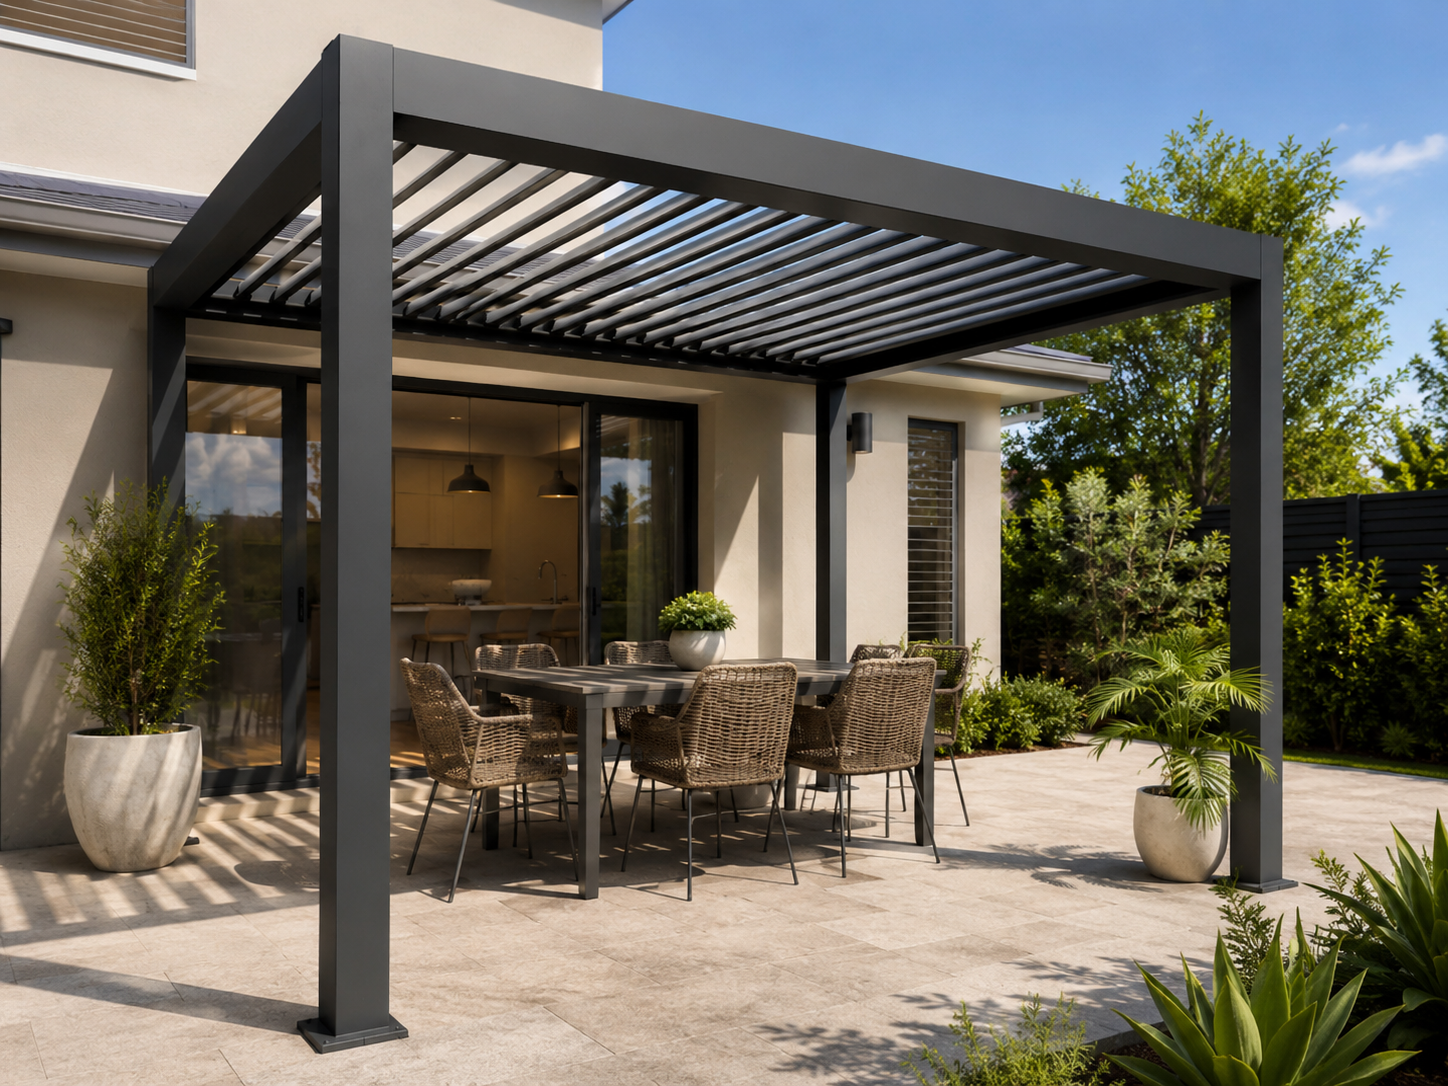
Choosing an adjustable pergola is not only about finding a design that looks right. The roof also needs to fit the furniture, doors, walking space, sun direction and installation conditions around the patio.
A louvre roof system should be selected around the way the outdoor area will actually be used. This guide explains what to measure, which site conditions matter and how to compare the Everpergo P120, P180 and P180 Pro without relying on appearance alone.

Begin with daily life
Choose the Roof Around the Way the Patio Will Be Used
Two patios with the same measurements can require different pergola layouts. A dining area needs enough room for chairs to move. A lounge needs balanced coverage across deeper seating. A barbecue zone needs safe appliance clearance and an open route for heat and smoke.
Define the main use first. Mixed-use patios can support several activities, but the largest furniture group and busiest walking route should guide the roof footprint and post positions.
Outdoor dining
Measure the table with every chair pulled back. Keep the serving route clear, especially where food is carried through sliding or hinged doors.
Family entertaining
Plan for the normal household first, then allow flexible guest space. Avoid placing posts where they separate the dining group from the lounge or garden.
Compact courtyard
Preserve visual space and easy movement. A structure that is too large can make a narrow courtyard feel crowded even when it technically fits.
Poolside or garden lounge
Consider wet walking routes, furniture depth and exposure on every open side. The pergola should create a destination without blocking movement around the yard.
Useful test: mark the proposed footprint with tape or chalk, place the furniture inside it and use the patio for a day. Open every door, pull out every chair and walk the routes people will actually use.
Measure more than width
How to Choose a Louvre Roof System for the Space You Have
A basic width and depth measurement is only the starting point. The usable area may become smaller once doors, steps, eaves, downpipes, garden beds and furniture clearance are included.
Wall-mounted and freestanding layouts can also use the same patio differently. A wall-mounted direction may keep one edge visually open, but it needs a suitable mounting position and careful planning around the house. A freestanding structure provides more placement flexibility but introduces additional posts.
Do not finalise the product from an empty-space photograph. Take measurements and site photos after the furniture, barbecue and other permanent items are placed in their expected positions.
Check above the patio
Record eaves, gutters, roof lines, lights, cameras, pipes and anything else that could affect the final height or mounting position.
Check below the patio
Confirm the surface, proposed fixing locations and drainage or waterproofing concerns before treating a post position as final.
Check around the patio
Include fences, neighbouring walls, trees and exposed boundaries. These affect light, wind, maintenance access and furniture placement.
Narrow the range
Match the Model to the Layout, Not a Generic Size Label
Small, medium and large are useful starting points, but they are not enough for a final order. The same patio area may require a different model once the control type, installation direction, furniture coverage and future accessories are considered.
Use these model directions to build a shortlist, then confirm the current size and configuration on the relevant product page.
Compact direction
P120
A practical starting point for compact patios and courtyards where manual adjustment and a smaller overall structure suit the daily routine.
Best fit: small seating groups, compact dining settings and straightforward shade needs.
Check first: furniture clearance and whether the available configuration matches the intended installation position.
Flexible middle ground
P180
A strong comparison point for family patios, regular outdoor dining and mixed-use areas that need more configuration flexibility.
Best fit: patios used several times a week for dining, seating or a combination of activities.
Check first: current size, control and mounting options for the exact product configuration being considered.
Larger-space direction
P180 Pro
A direction for larger entertaining areas and more substantial outdoor-room plans where scale and motorised louvre control are priorities.
Best fit: broad patios, poolside lounges and larger dining or hospitality-style settings.
Check first: final span, post positions, electrical planning and the complete furniture layout.


Read the site
Use Sun, Wind and Rain Exposure to Refine the Layout
Weather conditions should refine a layout that already works rather than replace the furniture and access plan. Observe the patio at the times it is most likely to be used and note where discomfort enters the space.
The main problem may come from directly overhead, from a low side angle or from an exposed boundary. That distinction affects the roof position and whether a side accessory deserves early consideration.
West-facing patio
Low afternoon sun can reach below the roof edge even when overhead shade is adequate.
Planning response: record the glare angle before fixing the roof position and consider whether an exposed side needs separate treatment.
North-facing patio
The desired balance can change between summer shade and cooler-season daylight.
Planning response: choose a layout that allows useful adjustment rather than planning for only one part of the year.
Sheltered courtyard
Nearby walls and fences can reduce natural air movement even when the space is shaded.
Planning response: keep openings and walking lines clear, and avoid making an already enclosed courtyard feel heavier.
Open garden edge
Wind and side rain can affect furniture placed near the roof boundary.
Planning response: keep important seating farther inside the covered area and identify the most exposed side before choosing accessories.
Patio beside large trees
Leaves and debris can increase the need for routine inspection around roof and drainage areas.
Planning response: preserve safe maintenance access instead of filling every edge with fixed furniture or screens.
Barbecue area
Roof coverage must be considered alongside heat, smoke and appliance clearance.
Planning response: follow the barbecue manufacturer’s clearance instructions and keep heat and smoke away from enclosed sides and roof components.
Rain planning is a complete route. It includes the closed roof, internal channels, posts and the final point where water leaves the structure. Keep that exit away from doors, steps, seating edges and primary walking paths.
Structure first
Plan Accessories Only After the Core Layout Works
Accessories should solve a routine problem. They should not compensate for a roof that is poorly sized, incorrectly positioned or difficult to move around.
Resolve the roof
Confirm the footprint, post positions, control direction, mounting approach and water route.
Solve the main exposure
Identify whether the real issue is overhead sun, low side glare, wind exposure or evening use.
Select the useful addition
Choose lighting, side protection or another accessory only when it clearly supports the way the patio will be used.

Lighting
Useful for evening dining, reading and relaxed seating. Include electrical planning before installation rather than treating it as an afterthought.
Side protection
Consider it for a clearly exposed edge. Too much enclosure can reduce openness and airflow, particularly in a compact courtyard.
Heating
Plan the location, clearance and power requirements around the furniture layout. Follow the heater manufacturer’s installation instructions.
Turn the plan into an enquiry
What to Prepare Before Asking for Pergola Advice
Clear site information makes product guidance more useful. A supplier can assess the direction more accurately when the enquiry shows the space, intended use and obstacles around it.
Send these details
- Approximate usable width and depth.
- Photos from the house, garden and both side boundaries.
- Door, window, eave and gutter positions.
- Main use: dining, lounge, barbecue, poolside or mixed use.
- Preferred wall-mounted or freestanding direction.
- Strongest sun, wind or rain exposure.
- Furniture dimensions and walking routes.
- Interest in motorisation, lighting or side accessories.
Confirm before ordering
- The exact model, size, colour and control option.
- Freestanding or wall-mounted configuration.
- Final post positions and furniture clearance.
- Drainage direction and final water exit.
- Electrical requirements for selected accessories.
- Delivery access and installation responsibilities.
- Whether local, property or strata approval needs confirmation.
- The current product configuration shown at checkout.
Do not rely on one wide-angle photo. Include close views of thresholds, gutters, paving, proposed mounting points and restricted access. These details often affect the recommendation more than a styled image of the entire yard.
Pause before choosing
When the Patio Is Not Ready for a Final Product Decision
A pergola model should not be finalised while major site questions remain unresolved. Buying early can lock the project into the wrong footprint or mounting direction.
Resolve structural conditions, drainage, access and any applicable approvals before treating a product choice as complete.
Wait for clarification when:
- The final paving or deck level may still change.
- Door clearance has not been measured.
- The water exit has no clear destination.
- The proposed mounting surface has not been assessed.
- Access for delivery or installation is uncertain.
- Required local or property approvals have not been checked.
Common decision questions
Louvre Roof System FAQ
How do I choose the right pergola size?
Measure the usable area after accounting for doors, steps, fixed equipment and walking routes. Place the intended furniture inside the proposed footprint and check chair pull-back, serving space and post positions before comparing product sizes.
Is a louvre roof suitable for a small courtyard?
It can be, provided the structure leaves comfortable movement space and does not overwhelm the courtyard. A compact model direction such as P120 may be worth comparing, but the final choice still depends on available dimensions, installation conditions and furniture clearance.
Should I choose wall-mounted or freestanding?
A wall-mounted layout can connect the covered area closely to the house and reduce posts along one side. A freestanding structure offers more placement flexibility. The better option depends on the wall, door positions, fixing conditions, drainage plan and desired walking space.
Do I need approval before installing a pergola?
Requirements can differ by location, property type, project size and installation method. Confirm any council, building, strata or property requirements that apply to the site before ordering or beginning installation.
Which Everpergo model suits a family patio?
P180 is a practical model to compare for many family dining and mixed-use patios. Compact areas may suit the P120 direction, while broader entertaining zones may justify comparing P180 Pro. Confirm the current sizes and configurations against the actual site before choosing.
Can lighting or side accessories be added later?
Some additions may be easier to plan before installation, particularly where wiring, mounting or control integration is involved. Discuss future accessory plans while confirming the main pergola so the structure and electrical preparation remain compatible.
Continue with one specific question
Related Planning Guides
These articles cover system operation, drainage and barbecue layouts separately, so readers can explore a specific issue without repeating the model-selection process above.
How a Louvered Roof System Works
Understand the open, angled and closed roof positions, practical limits and basic checks that come before choosing a system.
Read the GuideLouvered Pergola Drainage
Follow the route from closed louvres through channels and posts to the final point where rainwater leaves the structure.
Read the GuidePergola Planning for BBQ Areas
Plan shade, equipment position, smoke movement and walking space around an outdoor cooking area.
Read the GuideSend Your Patio Details Before Finalising the Model
Share the approximate dimensions, clear site photos, intended use, furniture layout and preferred installation direction. These details help narrow the choice between P120, P180 and P180 Pro without relying on appearance alone.
A clearer site brief usually leads to a more useful model recommendation.
Back to top
Share:
Adjustable Pergola Roof: How Louvre Angles Change Shade, Airflow and Comfort
Louvered Roof System vs Patio Roof: Which Is Better for All-Season Use?