

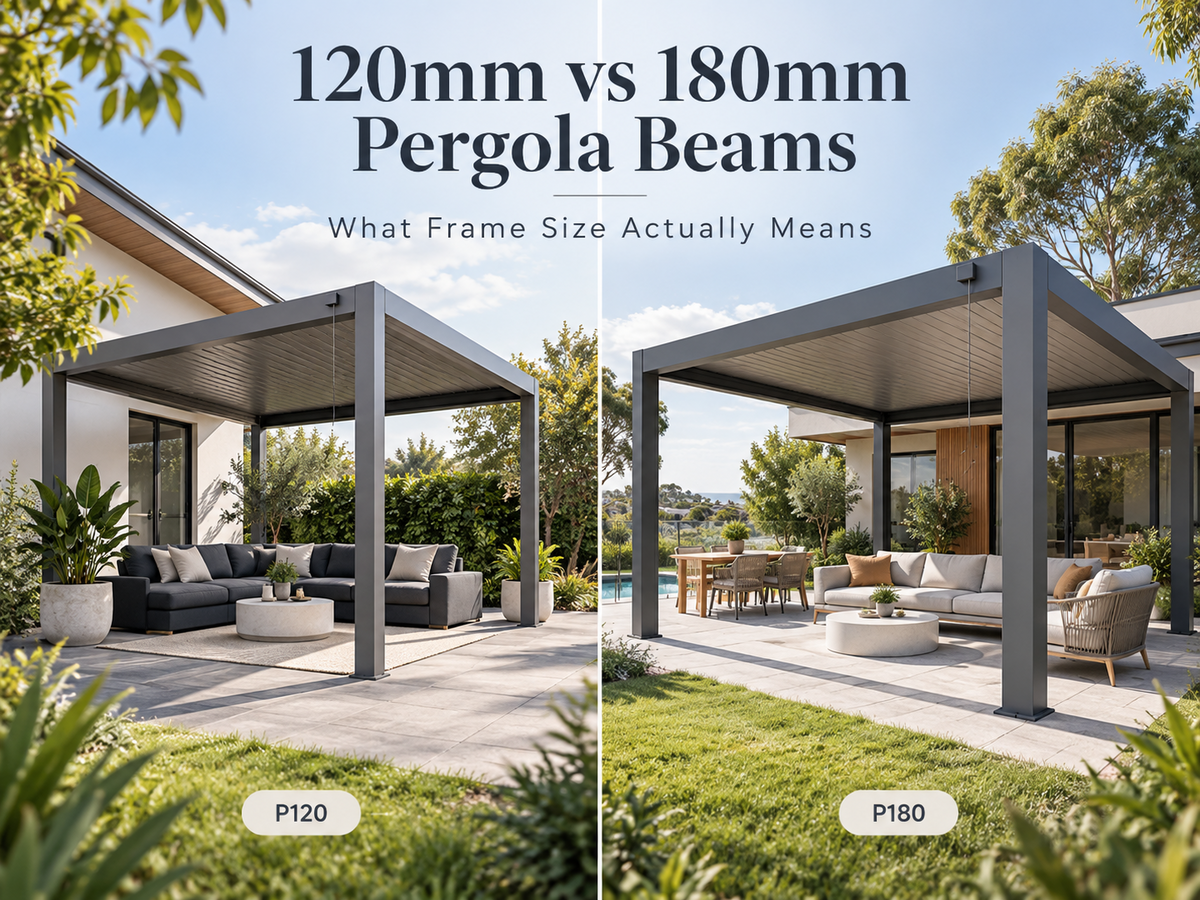
The practical difference between 120mm vs 180mm pergola beams starts with how the frame is proportioned, but the beam number should not be used on its own to choose a complete pergola system. EVERPERGO lists the P120 beam profile as 120 × 82 mm and the P180 beam profile as 180 × 40 mm. Those figures identify different beam profiles; they are not aluminium wall thicknesses, span ratings or standalone measures of structural capacity.
For an Australian homeowner comparing an aluminium pergola, the useful question is how the beam profile works with the façade and outdoor area, then how the complete P120 or P180 system fits the required size, operating method and project conditions. “180” should not automatically be read as simply better than “120”.
Quick answer
Do not choose between the two frames from the beam number alone. Compare the full profile, the visual weight it adds to the roof edge and the current specifications of the complete P120 or P180 system. Beam proportion can help narrow the aesthetic fit; the final model choice should also reflect the actual footprint, configuration and project requirements.
What Do the 120mm and 180mm Labels Describe?
The labels refer to beam profile dimensions associated with the two EVERPERGO frame systems. The P120 technical information lists a beam size of 120 × 82 mm, while the P180 is listed at 180 × 40 mm.
That distinction prevents a common reading error. A “180mm beam” does not mean the aluminium itself is 180mm thick, and the P180 profile is not simply the P120 profile enlarged in every direction. The second published dimension changes as well: 82mm on P120 and 40mm on P180.
In other words, these are different profiles rather than a simple small-to-large scale. If the exact orientation, wall thickness or construction of the profile matters to a project, use the current technical documentation rather than inferring it from the model name.
Use the published beam dimensions as factual profile specifications. Then assess appearance and complete-system requirements separately.
How Beam Depth Changes Visual Proportions
A pergola beam is one of the dominant horizontal elements in the finished structure. From normal viewing distance, homeowners rarely notice the profile as an isolated engineering section. They notice the line it creates around the roof.
That line can make a frame appear lighter, more defined or more substantial depending on the building and outdoor area around it. The useful judgement is therefore contextual rather than numerical.
The visual weight of the eaves line
Stand back from a pergola and the beam often reads almost like an additional eaves line. A visually stronger roof perimeter can help a pergola hold its presence across a broad patio or long rear elevation. In a tighter courtyard or directly beneath a low house eave, the same amount of visual emphasis may feel more dominant.
This is not a rule that large spaces need 180mm and small spaces need 120mm. A narrow but tall façade can tolerate a different visual weight from a wide façade with low windows, and a pergola set well away from the house is read differently from one positioned immediately outside sliding doors.
Use existing horizontal lines as your reference
Instead of asking whether a beam “looks big”, compare it with elements already visible on the house:
- the fascia or existing roof edge;
- the head line above sliding or bi-fold doors;
- window heads across the rear elevation;
- balcony edges or verandah beams;
- long masonry, cladding or screen lines.
Relationship to the house façade and roof mass
The same aluminium pergola frame can feel quite different beside two homes because the house provides the scale reference. A broad contemporary rear elevation with large expanses of glazing already contains long, strong horizontal lines. A compact brick courtyard may contain shorter openings and less visual mass.
Consider a hypothetical 3-metre-deep patio outside a low single-storey home. If the pergola sits directly below an existing eave and close to the top of a sliding door, the frame line is concentrated within a relatively small part of the façade. The beam may therefore attract more attention than the same frame positioned in an open garden setting.
Now consider a wider outdoor entertaining zone viewed from across a lawn. The roof perimeter is seen together with a larger volume of open space. Here, a stronger frame outline may feel more proportionate because the eye has more distance and more surrounding architecture against which to read it.
Neither example determines structural suitability or automatically determines the model. They show why visual scale cannot be judged from the beam label alone.
Colour can change perceived weight as well
Frame colour also affects how prominent a beam appears. A dark beam against a pale rendered wall creates more contrast and therefore a stronger outline. A lighter or lower-contrast treatment can visually recede.
This does not change the physical beam profile. It changes how strongly the eye notices it. When comparing frame proportions, look at product imagery in a colour relationship reasonably close to the intended home rather than judging beam scale from a high-contrast product render alone.
Read the Frame as a Whole
A beam does not appear on its own once the pergola is installed. It sits above posts, surrounds the roof and creates a complete frame within the wider outdoor setting. The useful visual comparison is therefore the complete silhouette.
For a wall-side pergola, pay particular attention to how the outer beam aligns with the house-side roof and façade. For a freestanding structure, walk around it. A freestanding frame can be seen from more directions, making the relationship between the long beam lines, posts and roof area more obvious.


Do not compare one close-up P120 photo with one distant P180 lifestyle image and conclude that one frame is visually heavier. Perspective and camera distance can exaggerate the apparent difference. Use similar viewing angles wherever possible.
Compare P120 and P180 as Complete Systems
Beam size is only one part of the decision. The clearest comparison separates the confirmed beam profiles from the other published specifications of the complete P120 and P180 systems.
| Specification | P120 | P180 |
|---|---|---|
| Beam profile | 120 × 82 mm | 180 × 40 mm |
| Post profile | 100 × 100 mm | 140 × 140 mm |
| Current listed sizes | 3 × 3 m and 3 × 4 m | Multiple 3 m-deep sizes from 3 × 3 m through 3 × 10 m, with project-specific options to be confirmed |
| Louvre control | Manual | Manual or motorised |
| Layout | Freestanding or wall-mounted | Freestanding or wall-mounted |
| Published wind resistance | 100 km/h | 150 km/h |
| Published snow load | 100 kg/m² | 100 kg/m² |
These are current published model-level specifications, not performance claims caused by beam depth alone. Product options can change, so confirm the selected size and configuration on the current EVERPERGO comparison page and product page before ordering.
If a current 3 × 3 m or 3 × 4 m manual configuration fits the planned area and the 120mm beam with 100 × 100 mm posts sits comfortably beside the house, P120 remains a logical option to assess.
If the project needs one of the longer currently listed 3 m-deep sizes, a choice between manual and motorised louvres, or the proportions of the 180mm beam and 140 × 140 mm posts, P180 deserves closer comparison.
The table also shows why reducing the decision to “120 versus 180” is misleading. The beam profiles differ in more than one dimension, while the complete systems also differ in post size, available configurations and published model specifications.
Use those differences to narrow the shortlist, but keep structural approval separate from visual preference. Project-specific spans, attachments, site exposure and loads still need to be checked against the relevant technical information.

What to Verify Before Choosing a Frame
Visual preference is useful only when it is combined with realistic product and site information. Before selecting P120 or P180, check the frame from several angles and confirm that the current configuration fits the actual project.
Verify the complete product specification
Do not rely on the model number alone. Confirm the full beam and post dimensions, current size, mounting arrangement and louvre-control option for the exact configuration being considered.
Compare the frame at realistic viewing distance
Close-up product photographs make structural members appear larger. Review full-frame images and, where possible, view a physical sample or installed structure from the distance used in daily life.
Check three everyday sightlines
Look from inside the main living room, from the outdoor seating position and from the garden approach. A beam that appears balanced from one angle can feel more dominant from another.
Keep structural verification separate from visual preference
Project-specific spans, attachments, loads and site conditions should be checked against the applicable technical information and by suitably qualified professionals where required. Do not approve them from beam size alone.
“Which complete frame suits this elevation, footprint and project configuration?”
That produces a more useful decision than asking whether a 180mm beam is simply “better” than a 120mm beam.
A simple visual check before committing
Print or display a straight-on photo of the house and mark the expected pergola roof line. You do not need architectural rendering software for the first comparison. The purpose is to identify whether the proposed horizontal frame feels comfortably related to the façade.
Pay particular attention where the beam passes close to the top of a door, below an eave or across a strong window line. These are the locations where a difference in visual depth can be noticed most clearly.
If both frames still look appropriate, move on to the complete product specifications and the actual project dimensions rather than trying to extract more certainty from the beam number.
Choosing Between the Two Frame Scales
Start with fit rather than a performance assumption. If a current P120 size and manual configuration suit the project and its more compact frame sits naturally with the house, there is no reason to reject it simply because the model number is smaller.
If the project needs a longer currently listed size, a manual-versus-motorised choice or the proportions of the P180 frame, review P180 more closely. In either case, confirm current product and project-specific technical requirements before the final selection.
FAQs
Does 180mm mean the aluminium is 180mm thick?
No. The 180mm figure is part of the P180 beam profile specification. EVERPERGO lists the complete P180 beam size as 180 × 40 mm. It should not be read as aluminium wall thickness.
Does a deeper beam automatically prove a longer span?
No. Beam depth by itself does not establish the allowable span of a complete pergola system. Structural performance depends on the complete system and project conditions, so use the relevant technical information rather than estimating from the 120mm or 180mm label.
How should I choose between P120 and P180?
First confirm which current sizes and control options fit the project. Then compare the complete frame proportions beside the house, including the beam and posts. Finally, verify the selected model against the actual site, mounting arrangement and technical requirements.
Compare the Frame with the House, Then Verify the Project
Before narrowing the choice to P120 or P180, note the project width and depth, whether the frame will be freestanding or wall-mounted, nearby door/eave clearances and whether manual or motorised louvre control is preferred.
If you need help confirming the next step, have a straight-on site photo, the approximate pergola dimensions and the project postcode ready. That gives the product comparison useful context instead of relying on beam size alone.
Share:
Pergola vs Gazebo: Which Outdoor Structure Suits an Australian Backyard?
What Does a 170mm Pergola Louvre Mean for Roof Design and Appearance?