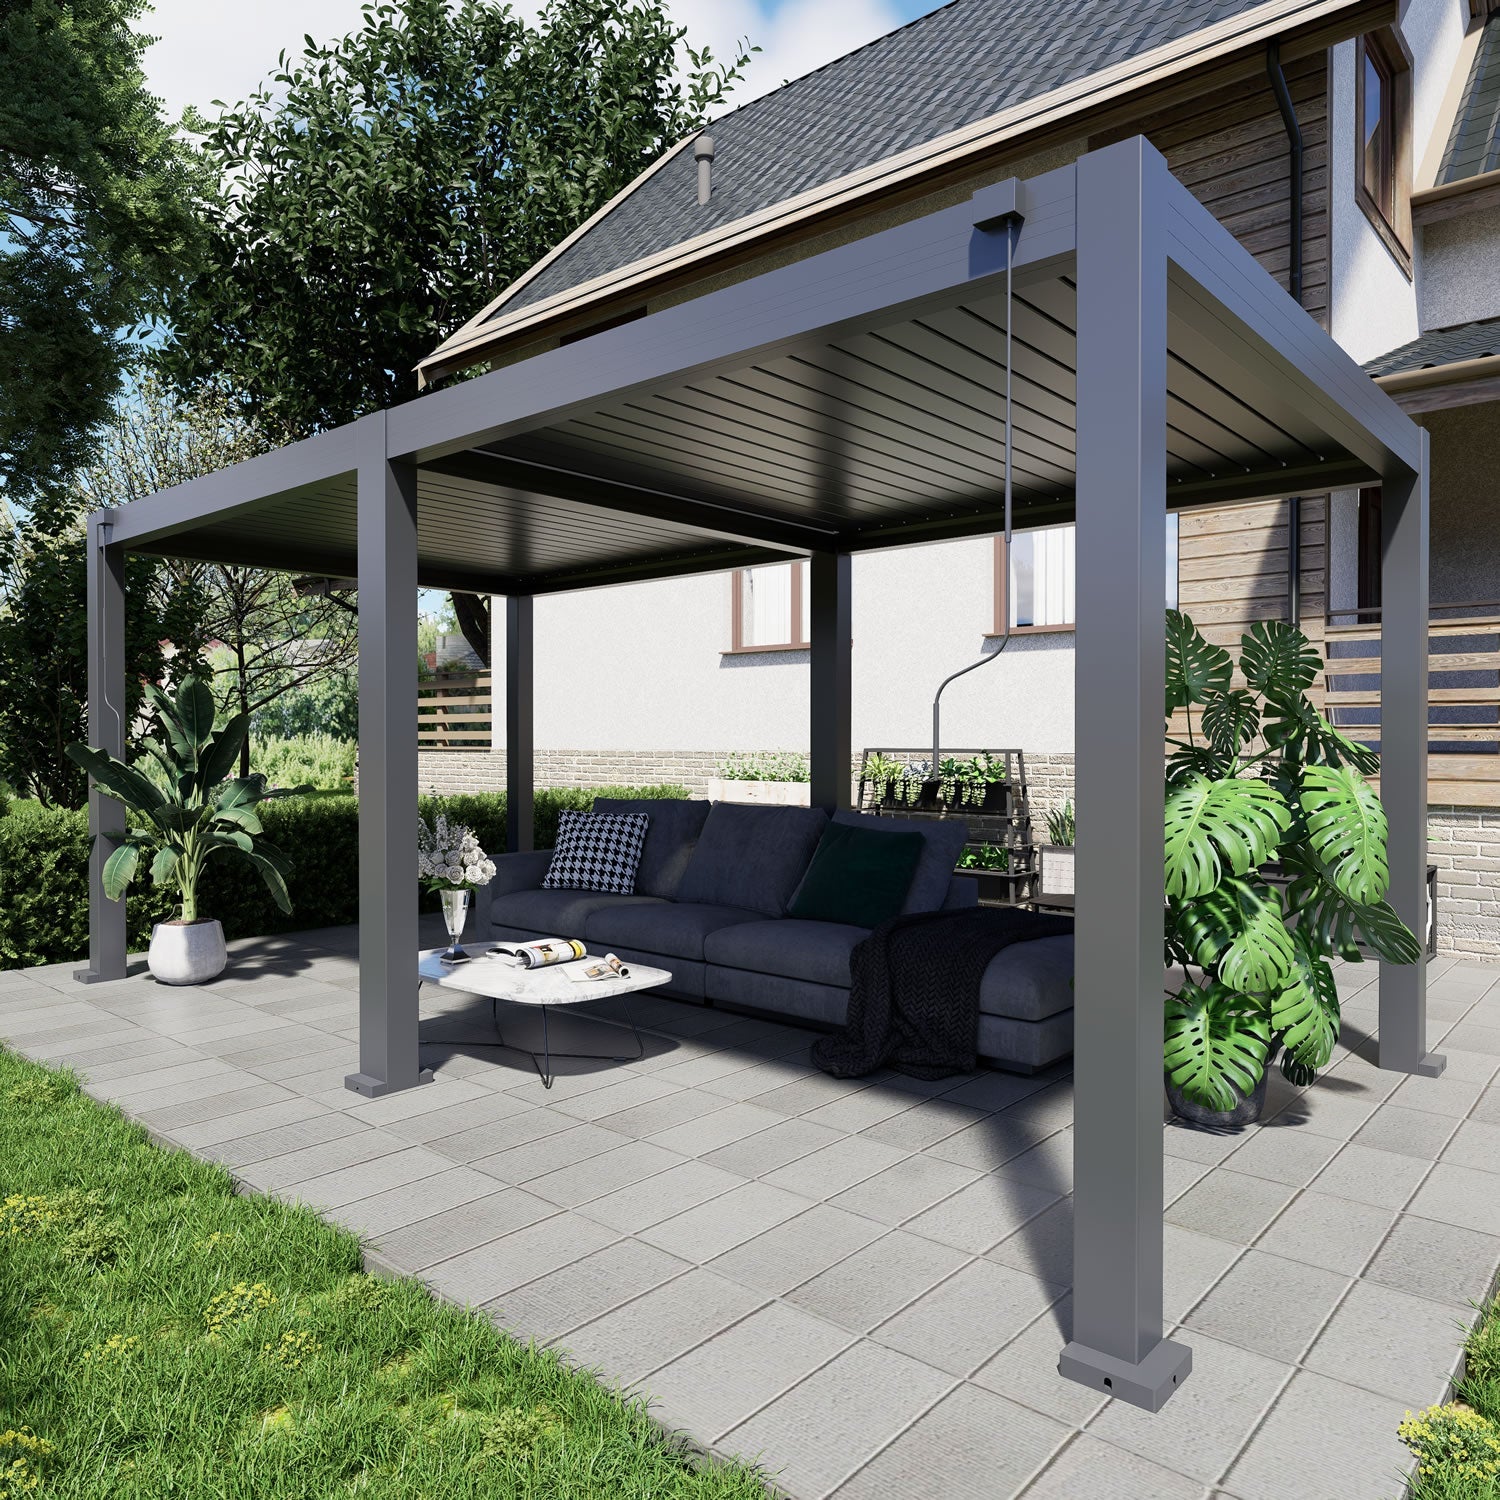
Buying a pergola for the first time becomes much easier when you make the decisions in the right order: decide how the space will be used, measure around furniture and access, choose the layout, then compare roof operation, project costs and installation responsibilities.

An aluminium louvre pergola can provide adjustable shade and help manage changing weather, but the best option is not simply the largest or most automated model. It is the one that fits your site, supports the way your household lives outdoors and can be installed safely without creating avoidable drainage, access or approval problems.

Quick answer

Start with the activity zone rather than a pergola model. Mark out your furniture, walking paths and possible post positions, then decide whether the structure should connect directly to the home or stand independently. Once those basics are clear, compare manual and motorised louvres, drainage design, accessories, delivery requirements and the full installed cost.

1. Decide what the pergola needs to do

The original question is not “Which pergola should I buy?” It is “What problem should the pergola solve?” A compact area for morning coffee has very different requirements from an outdoor dining space used by a large family.

Think about how often the area will be used, at what time of day and in which seasons. The answers influence the size, orientation, roof control, lighting and side protection you may need.

Dining

Allow room for the table, chairs pulled back from the table and a clear route between the kitchen, barbecue and seating area.

Lounging

Plan around the full depth of sofas, coffee tables and side access. Lounge settings often occupy more floor space than expected.

Mixed use

A flexible family space may need separate dining and seating zones, adjustable shade and preparation for future lighting or screens.

Visit the proposed location at the times you expect to use it. Notice where the afternoon sun enters, how wind moves through the yard and whether water already collects on the ground after rain. A pergola can improve comfort, but it should be planned around the conditions that already exist.

2. Choose the size around real use, not empty paving

Standard dimensions such as 3 × 3 m, 3 × 4 m, 4 × 4 m and larger rectangular configurations can provide a useful starting point. They are not a substitute for measuring the furniture, access routes, roof edges and post locations on your site.

Example size May suit Check before choosing
3 × 3 m A compact courtyard, small café-style table or modest lounge setting. Whether chairs can move comfortably and whether the posts reduce an already narrow walkway.
3 × 4 m A small family dining setting or a narrow rectangular patio. The position of rear doors, barbecue clearance and furniture circulation at both ends.
4 × 4 m A larger dining arrangement, lounge zone or combined compact layout. Whether the square footprint suits the house proportions and leaves enough open yard around it.
3 × 6 m or 4 × 6 m A broader entertaining area or separate dining and seating zones. Post positions, drainage fall, delivery access, structural requirements and whether one large zone or two smaller zones works better.
Custom size An irregular patio, fixed door lines, unusual setbacks or furniture that does not fit a standard footprint. Exact site measurements, structural design, available clearances and which dimensions can realistically be manufactured and installed.

A useful test is to mark the proposed footprint with tape or chalk. Place the outdoor furniture inside it, pull the chairs out and walk the main routes while carrying something. This simple exercise often reveals a cramped corner or inconvenient post position before an order is placed.

For a more detailed sizing process, see the guide to planning the right custom pergola size.

3. Compare freestanding and attached layouts

The layout determines more than how the pergola looks. It affects post placement, access, structural design, drainage, installation work and how naturally the outdoor area connects with the house.

Freestanding pergola

A freestanding structure can be positioned independently from the house. It may work well over a separate garden lounge, poolside area, existing slab or outdoor zone where the house wall is not the best supporting edge.

It normally requires four or more suitable support points, so check that the posts will not interrupt furniture, gates or walking paths.

Attached pergola

An attached layout can create a more direct transition from the kitchen or living area and may reduce the number of posts near the house.

The wall, fascia, roof edge, gutter, doors, windows and proposed fixing location must be assessed before treating attachment as a straightforward option.

Do not assume that an existing wall, deck or concrete area is automatically suitable for fixing a pergola. Structural connections, footings, wind actions, drainage and local approval requirements are site-specific and should be confirmed by the relevant engineer, council, building professional or qualified installer.

The full comparison in Freestanding Pergola or Attached Pergola can help narrow the layout before you request a quote.

4. Decide between manual and motorised louvres

Both manual and motorised systems can provide adjustable roof control. The better choice depends on the size of the roof, how often it will be adjusted, the distance from the house and whether electrical work fits the project.

Manual operation

A manual louvre roof is operated with a crank or similar mechanical control. It avoids a powered motor and may suit a smaller pergola that is easy to reach and adjusted only occasionally.

Manual does not mean that the system requires no care. Hinges, moving components, seals, drainage channels and fixings still need routine inspection and cleaning in accordance with the supplier’s instructions.

Motorised operation

A motorised pergola allows the louvres to be adjusted by a compatible wall control, remote or other supplied control system. It can be useful for larger roof areas or households that expect to change the roof position frequently.

Before choosing electric operation, confirm the motor specification, power requirements, control range, weather protection, manual override procedure and warranty coverage. Any required mains electrical work should be completed by a licensed electrician.

Plan accessories at the same time

Lighting, blinds, screens and other additions can affect wiring, frame preparation and usable clearances. Even when they will be purchased later, discuss them before finalising the pergola so that the structure and electrical plan do not need unnecessary rework.

You can review available options in the Everpergo accessories collection.

5. Check how the roof manages sun and rain

Closed louvres on a suitably designed and correctly installed system can direct rainwater towards integrated channels and down through designated drainage points. This is different from describing an open-sided pergola as a fully waterproof room.

Wind-driven rain may enter through open sides, and performance can also be affected by installation accuracy, roof fall, seals, drainage capacity, blockages and site exposure. Ask how water is collected, where it exits and what cleaning access is required.

Questions worth asking: Where are the downpipes or internal outlets? Can water discharge safely without pooling near the posts or house? How are leaves and debris removed? What conditions or limitations apply to the rain-management design?

Material also matters, but it should not be reduced to a simple claim that one material lasts forever. Aluminium is commonly chosen because it is relatively lightweight, corrosion resistant and does not require the same painting routine as many timber structures. The grade, coating, installation quality, local exposure and maintenance still influence long-term condition.

6. Compare the complete project cost

The listed product price is only one part of a pergola project. A useful comparison separates the supply price from every site-specific cost required to make the structure ready for use.

Your total may include:

  • The pergola frame, louvres, controls and included hardware.
  • Delivery charges and any regional freight conditions.
  • Unloading equipment, difficult access or temporary storage.
  • Assembly and installation labour.
  • Footings, concrete work, anchors or deck reinforcement.
  • Wall attachment design and structural assessment where relevant.
  • Electrical work for motors, lighting or accessories.
  • Drainage connections and suitable discharge points.
  • Permits, engineering documents or council requirements where applicable.
  • Blinds, screens, lighting and other optional accessories.

Ask every supplier or installer to state clearly what is included, excluded and assumed. Two quotes can appear similar while covering very different delivery, footing, electrical or installation responsibilities.

For budget-level comparisons rather than technical cost factors, read the Pergola Price Guide.

7. Confirm installation and delivery responsibilities

A pergola purchase can involve the product supplier, freight carrier, installer, electrician, engineer and local authority. Before paying a deposit, identify who is responsible for each stage and who will resolve an issue if the site differs from the original information.

Before delivery

  • Confirm the delivery address, access width and any height or weight restrictions.
  • Ask how the components are packed and who provides unloading equipment.
  • Prepare a dry, secure and level storage area if installation will not begin immediately.
  • Check whether all foundations, attachment points and electrical provisions must be completed first.

Before installation

  • Confirm the final dimensions and post locations against the actual site.
  • Check doors, windows, gutters, eaves, services and boundary clearances.
  • Confirm how roof water will be directed away from the building and foundations.
  • Obtain any structural, electrical or approval advice required for the site.
  • Agree who removes packaging, construction waste and protective film.

At handover

Ask for operating instructions, maintenance guidance, warranty documents and a clear explanation of the drainage and control systems. Open and close the louvres, inspect the movement and confirm that any motor, remote, lighting or accessory works as intended before the installer leaves.

Common first-time buying mistakes

  • Choosing from a product image alone: a layout that looks balanced in a photograph may not suit your wall height, slab or furniture.
  • Measuring only the available floor: usable space also depends on chairs, walking routes, doors and post positions.
  • Assuming the patio is ready for installation: an existing slab, deck or wall may still require assessment or additional work.
  • Comparing only the pergola price: delivery, foundations, installation, electrical work and approvals can materially change the project total.
  • Leaving accessories until the end: future lighting, blinds or screens may be easier to accommodate when planned before manufacture or installation.
  • Treating an open pergola like an enclosed room: side exposure, drainage and wind-driven rain should remain part of the planning.

Information to prepare before requesting a quote

A clear enquiry helps the supplier identify suitable options and reduces the chance that important site costs are discovered late.

Your pergola enquiry checklist

  • Site address or postcode.
  • Overall available width, depth and height.
  • Several wide photos of the proposed location.
  • Photos facing back towards the house and roofline.
  • The main activity and furniture layout.
  • Preferred freestanding or attached configuration.
  • Ground surface, slab, deck or footing information.
  • Location of doors, windows, gutters and downpipes.
  • Manual or motorised roof preference.
  • Possible lighting, blinds or other accessories.
  • Known access restrictions for delivery.
  • Any engineering or council advice already received.

Measurements provided by a homeowner are useful for initial planning, but final dimensions and site suitability should be verified before manufacture or installation. Do not place an order solely from an approximate sketch when attachment, foundations, boundaries or structural clearances are involved.

Ready to compare suitable pergola options?

Send Everpergo your measurements, site photos and intended layout so the conversation can begin with the practical details rather than a size guess.

Contact Everpergo

Latest Stories

This section doesn’t currently include any content. Add content to this section using the sidebar.